Email Templates
Build reusable subjects and HTML bodies—optionally with presets or AI—then pick the template inside any Send Email step.
Reusable **subject + body** (optional default **From**) for **Send Email** steps. Templates can be drafted in the Email Templates editor, but any `{variables}` you write there are **design-time placeholders only** — they won’t automatically match the variables your automation produces at runtime. When you load a template into a **Send Email** step, review every `{variable}` in the subject and body and replace it with the actual variable name from that automation’s **Variables Available** panel (e.g. `{affiliate_name_1_stats_1}`, `{revenue_1_stats_1}`). Each automation can have different Pull Stats steps, so the correct variable names differ per automation. Picking a template **copies** its content into the step at save time; later template edits don’t auto-update existing automations.
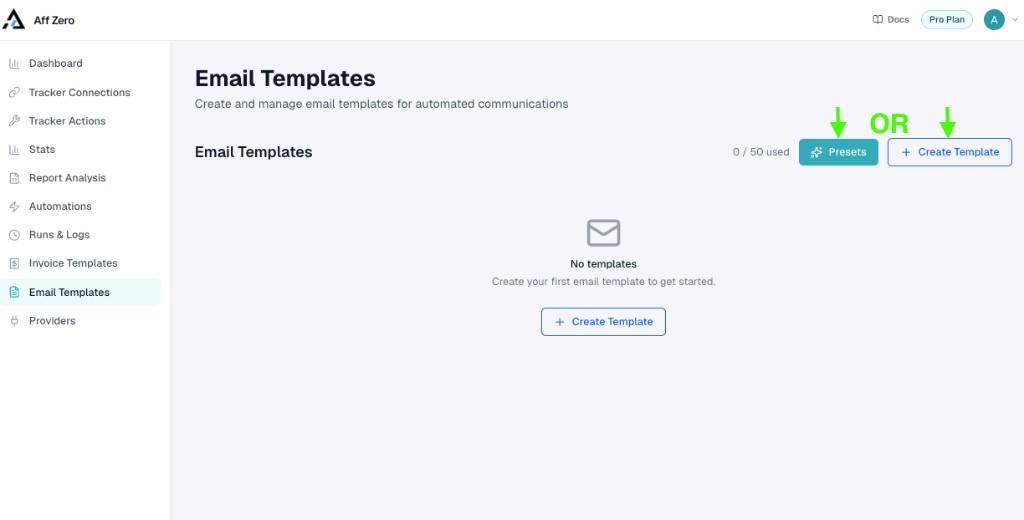
1. Open Email Templates
From the sidebar, open **Email Templates**. The counter (e.g. 0 / 50) shows how many templates your plan allows. Start from **Presets** for a curated layout or **+ Create Template** for a blank message.
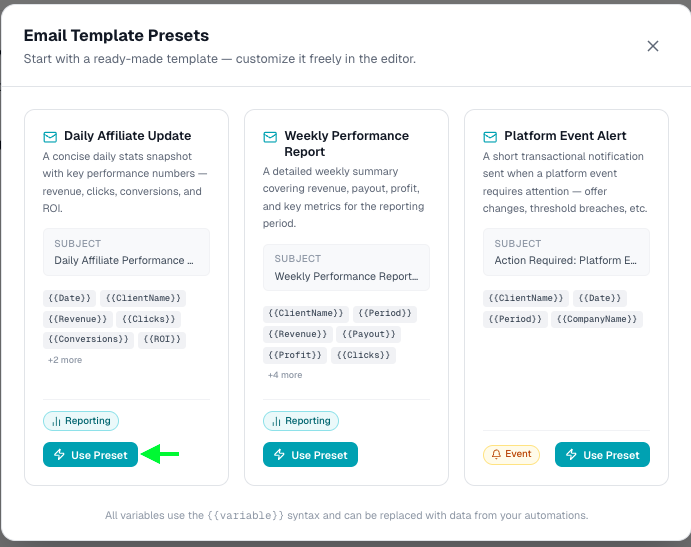
2. Start from a preset (optional)
Pick **Daily Affiliate Update**, **Weekly Performance Report**, **Platform Event Alert**, or another card, then **Use Preset**. Each card previews the subject line and example merge tags so you know what to swap for real variables.
3. Template metadata & mail headers
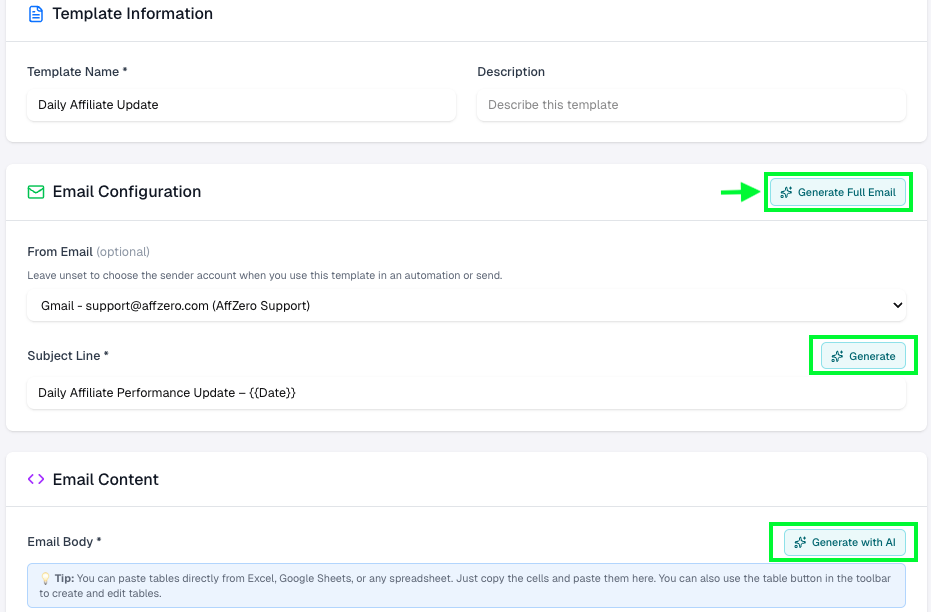
Set a **Template name** for your library (recipients never see it). Add an optional **Description** for teammates. In **Email Configuration**, choose **From** when this sender should always be the same; leave it unset to pick the mailbox inside the automation. Write the **Subject**—static text, `{{preset}}` hints, or `{automation_variables}` as needed.
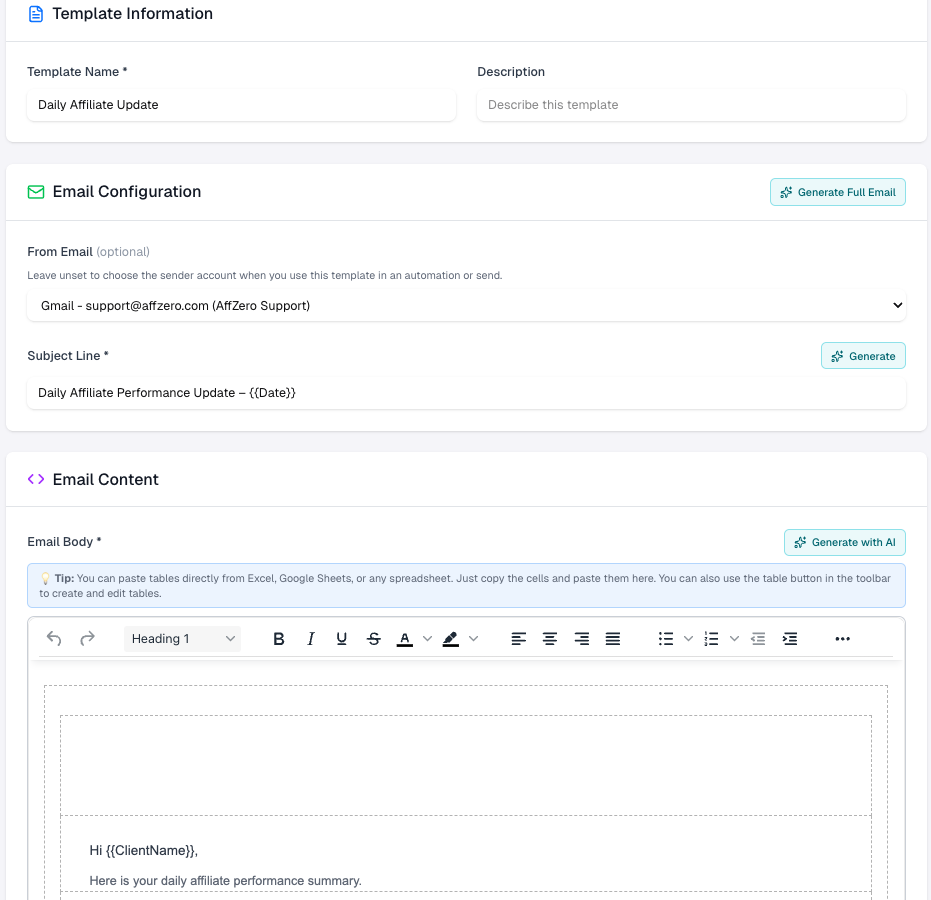
4. AI-assisted drafting
Three helpers speed up writing: • **Generate Full Email** — one prompt fills subject and body. • **Generate** next to Subject — headline-only. • **Generate with AI** above the body — body-only. Each opens a prompt where you describe tone and content; Accept or regenerate, then tweak manually.
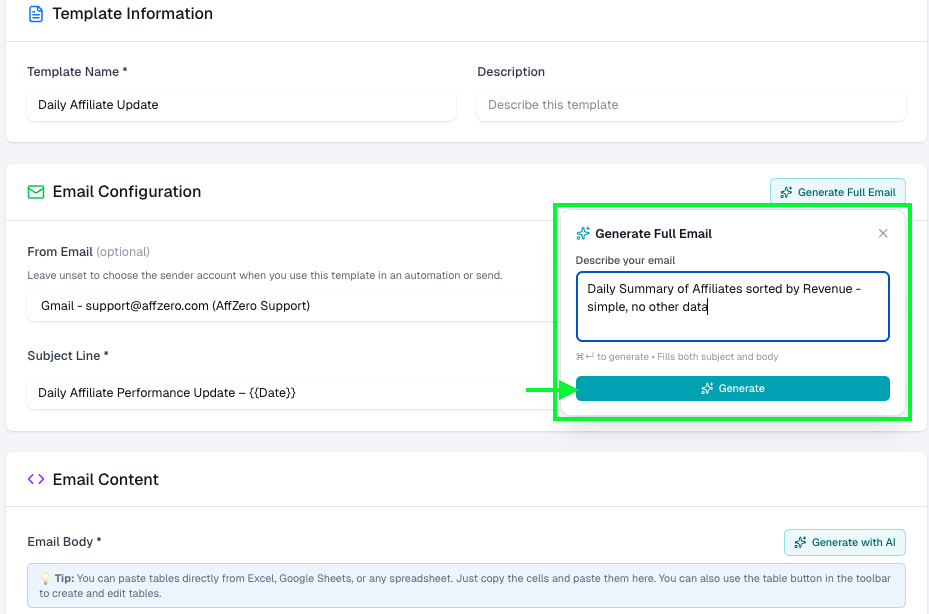
5. Describe what you want
In **Generate Full Email**, describe the message (e.g. “Daily summary of affiliates sorted by revenue—simple”). Keyboard shortcuts shown in the modal (e.g. ⌘↵) run generation quickly.
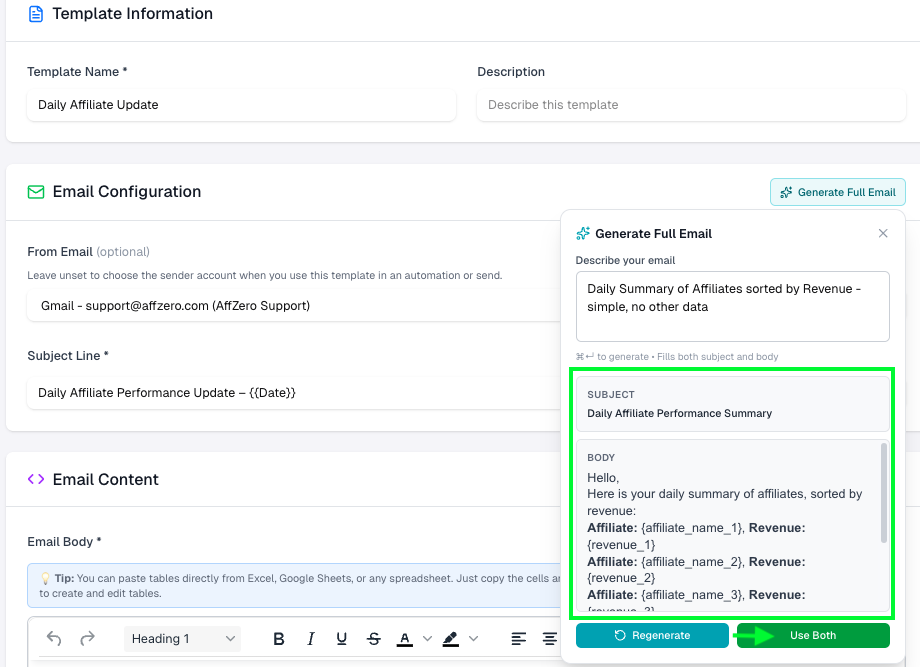
6. Apply the draft
Review the proposed subject and HTML body. **Regenerate** for another pass, or **Use Both** to drop the pair into the template fields. Then replace generic placeholders with variables your stats pull actually provides.
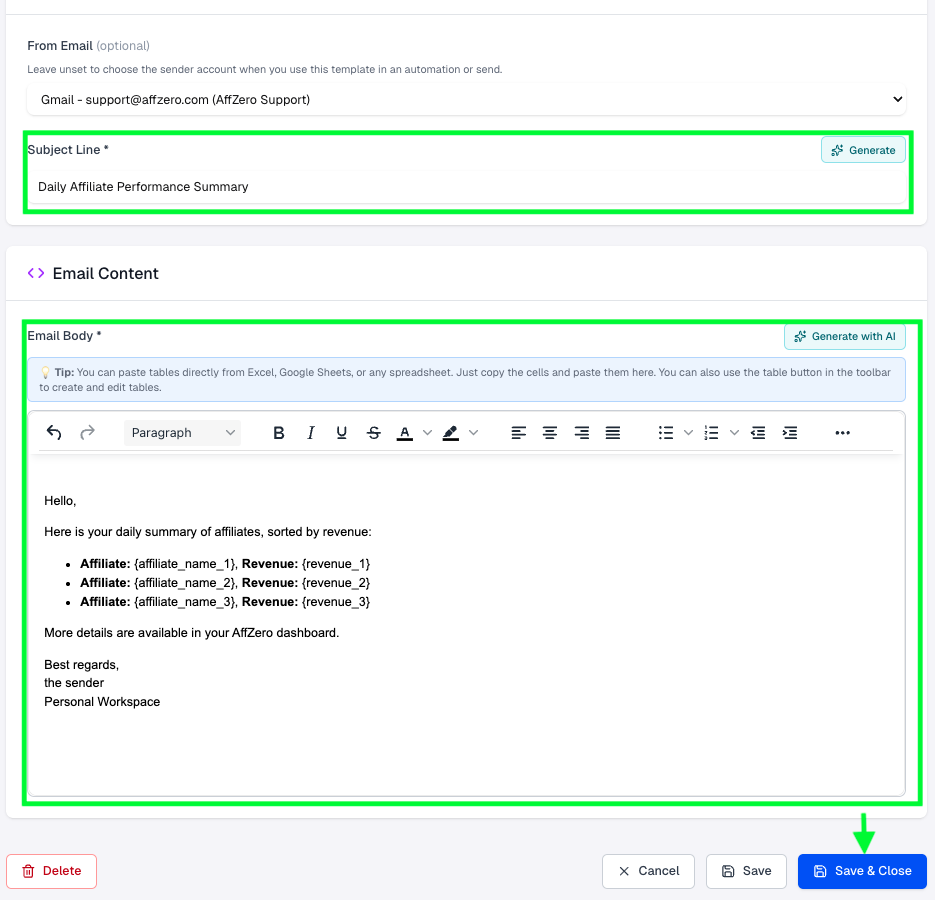
7. Polish, variables, and Save & Close
Use the rich text toolbar for emphasis and structure. Paste tabular metrics from spreadsheets or insert a table from the toolbar. When the subject and body match your workflow, click **Save & Close** (or **Save** if you are iterating). **Delete** removes the template permanently.
Read more
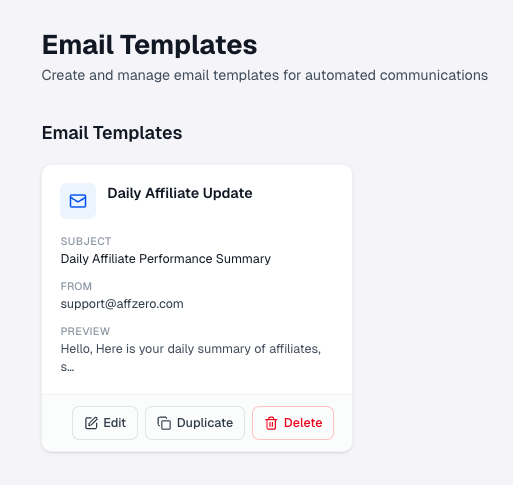
8. Use the template in automations
Back on **Email Templates**, the card shows subject preview, default From, and actions (**Edit**, **Duplicate**, **Delete**). In any **Send Email** step, choose this template from the **Template** dropdown to load its subject and body. Important: after loading, go through every `{variable}` in the subject and body and update them to match the variable names that **this specific automation** produces — check the **Variables Available** panel on the left. A variable like `{affiliate_name}` in the template may need to become `{affiliate_name_1_stats_1}` in an automation that uses Cell Selection mode, or `{advertiser_name}` in one that pulls by advertiser. Getting these right before enabling is what ensures the correct live values are substituted at run time.
Read more